7110 Linden Ave
info@gladfloor.ca
7787142422
Opening Times:
Mon - Fri 9am-5pm
info@gladfloor.ca
Vinly
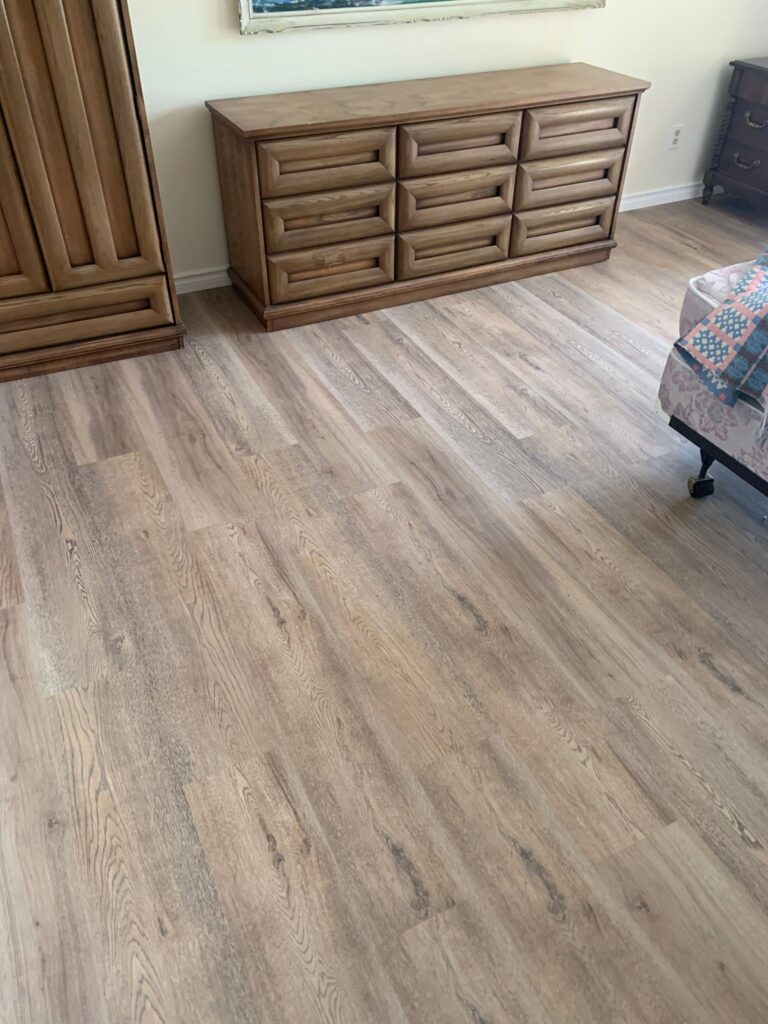
Vinyl flooring is a popular and durable type of flooring that can mimic the look of other flooring types such as hardwood, tile, or stone. Here is a step-by-step guide to installing vinyl flooring:
- Prepare the subfloor: Make sure the subfloor is clean, dry, and level. Remove any carpet, padding, or old flooring, and vacuum up any debris. Check the level of the subfloor with a long straight edge to ensure there are no high or low spots.
- Acclimate the flooring: Bring the vinyl flooring into the room where it will be installed and allow it to acclimate for at least 48 hours. This will allow the flooring to adjust to the temperature and humidity of the room.
- Lay down underlayment: Depending on the type of vinyl flooring you are installing, you may need to lay down a underlayment. For example, if you are installing vinyl planks or tiles, you will need to install a self-leveling underlayment over the subfloor to create a smooth and level surface.
- Begin installation: Starting in the corner of the room, lay down the first row of vinyl planks or tiles. Use spacers between the planks/tiles and the wall to maintain an even expansion gap.
- Continue laying planks/tiles: Continue laying the planks or tiles in rows, using a utility knife to cut the planks or tiles to fit around any obstructions or the edges of the room.
- Adhere the flooring: Depending on the type of vinyl flooring you are installing, you may need to apply adhesive to the back of the planks/tiles or to the subfloor before laying them down.
- Install transition strips: If necessary, install transition strips where the vinyl flooring meets other types of flooring, such as carpet or hardwood.
- Clean up: Remove any spacers and sweep or vacuum the floor to remove any debris.
With these steps, you should be able to successfully install vinyl flooring in your room. It is always important to read the manufacturer’s instructions for your specific product before installation.